

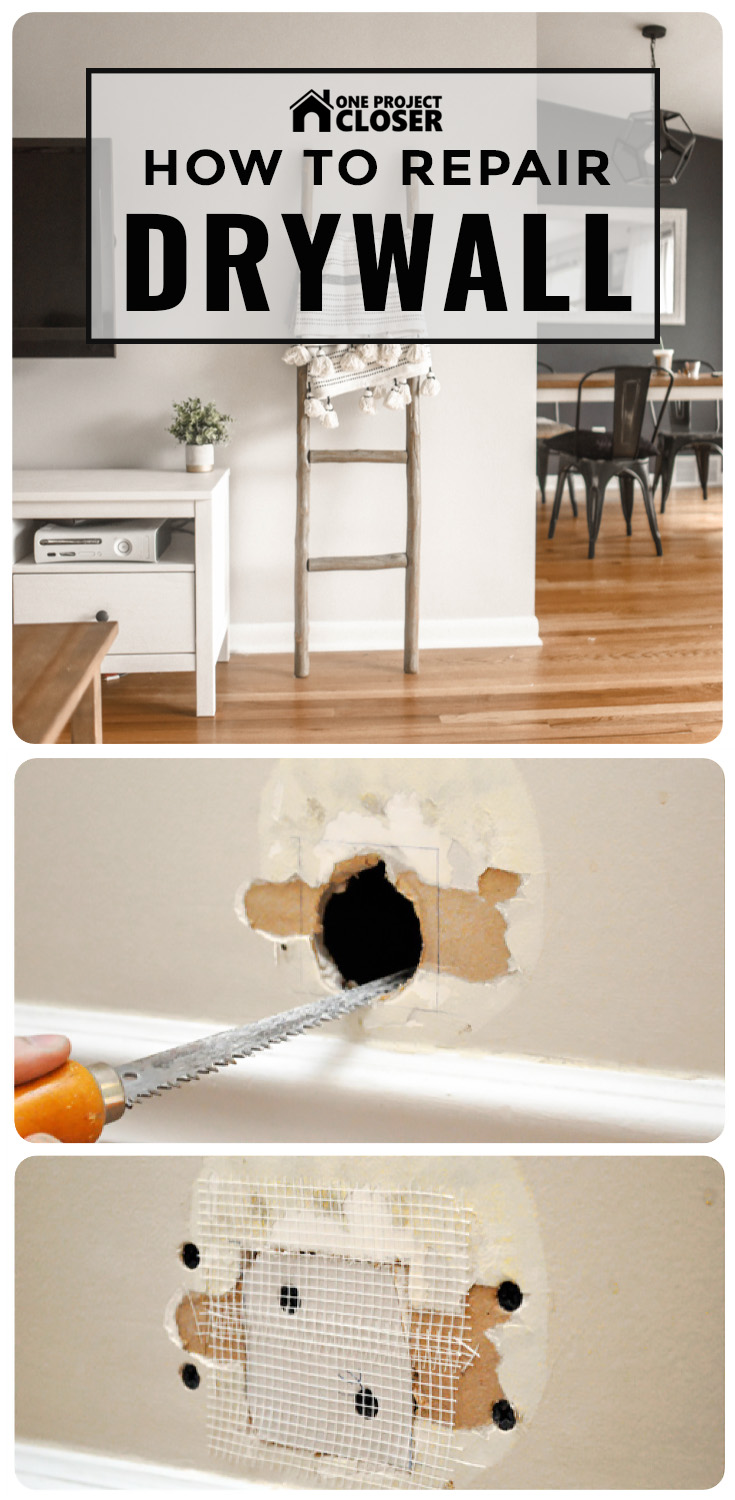
How To Fix A Quarter Size Hole In Drywall

This is a great tutorial that I put together in March of 2012 on How to Repair a Medium-Size Hole in Drywall , and you can find this along with other top-notch articles in the Best of OPC section found in the right sidebar. If you read through the comments, you'll find some alternative drywall repair suggestions, and some of them are valid options. However, the method I describe here is tried-and-true, and it results in a flawless, durable patch every time. Furthermore, a number of drywall contractors confirm that this is how they tackle a medium sized repair.
Repairing drywall is a great do-it-yourselfer task because tools and materials are cheap, and there's very little risk (to you or the house). Plus, if you can master the repair, it's a skill that will serve you well no matter if you own or rent. So before you call the local handyman next time, give yourself a chance to tackle this basic, home improvement project.

Materials List
- Drywall (see below)
- Mesh tape (see below)
- Setting compound (see below)
- Backer boards (see below)
- 1-1/4″ Drywall screws
Drywall: Also called sheet rock or gypsum board, drywall is available in several sizes and thicknesses. Purchase a piece bigger than the hole because you'll be squaring it out (and making it slightly larger). Home improvement centers often sell 2 x 2′ sections which are great for making repairs. Drywall is commonly available in 1/4″, 1/2″, 3/8″, 5/8″ and 3/4″. Most interior walls have 1/2″ drywall, and ceilings are typically 1/2″ or 5/8." The thickness of the new piece should match the existing drywall.
Mesh tape: I used a fiberglass mesh tape for this repair. Paper tape is another alternative, and it results in a stronger joint. If you expect any sort of movement or stress on the joint, paper tape will better resist cracks. If you use mesh tape, I recommend avoiding the pre-mixed joint compound (more on that next).
Setting Compound: Setting compound (or hot mud) is a powder that comes in a bag and needs to be mixed with water. Unlike joint compound which dries through evaporation, setting compound dries through a chemical reaction, shrinks very little and dries very hard. Setting compound is differentiated by drying time (in minutes), and you'll find 5, 20, 45, 90, etc. Setting compound is nice because you're able to apply a second coat without waiting too long. I purchased an easy-sand, 5 minute compound. If you're a novice to patching drywall, go with a longer drying time.

Backer Boards: Repairing a medium-sized hole in drywall calls for adding a new piece of drywall. To secure this new piece, you'll need some sort of backer boards, and I used small pieces of 1/4″ plywood.
Tools
- Utility knife
- Drywall saw
- 6″ Drywall knife (pictured)
- Drill / driver
- 100 grit Sandpaper

Step 1: Square the Hole
This is the hole right by my front door. I'd guess the previous owner opened to door too hard, and instead of repairing the damage, covered it with a plastic wall bumper. Cutting a circular (or other oddly shaped) piece of drywall is tedious. Instead, I like to widen the hole into a square or rectangle.

I recommend scoring the edges with a utility knife before you start sawing.


Step 2: Secure the Backer Board
This is a medium-sized hole, and it's impossible to simply fill the void with compound. I need to add a new piece of drywall, and to fasten the drywall, I need some sort of backing or furring strip. To accomplish this, I slide a piece of 1/4″ plywood into the hole.

Carefully, I start a drywall screw that allows me to easily hold the plywood across the opening.

Next, I put in four drywall screws to hold my backer in place.

Screws should be countersunk just below the surface of the drywall.


Alternate Method
It just so happens that I have a second hole in my basement. For this hole, there is a stud nearby so I cut the drywall to expose half the stud. This gives me a nice nailing surface of the left side. Now I just secure my backer board to the right side.


Step 3: Cut a New Piece of Drywall
Use your utility knife and/or drywall saw to cut a new piece of drywall that fits into the hole.

Step 4: Cover the Joints with Tape
I covered the entire new piece of drywall and all the edges with mesh tape. Often you'll see people cover the screw heads too (which is fine but I didn't).
Step 5: Mix Compound and Apply First Coat
It doesn't take much compound to cover a hole like this. I mixed a little powder and water until the compound had a thick, "mashed-potato" consistency. This is important because if the compound is too wet, it'll result in a poor bond. Sloppy mud is also a pain to work. Keep adding powder (or water) as necessary until your satisfied.
Using the 6″ drywall knife, I applied the first coat. Make sure you embed all the mesh tape, and try to eliminate any air pockets.


Step 6: Second Coat
While the first coat dried, I mixed up another small batch of compound. I didn't bother to sand in between the first and second coat, using my knife to check for any high points. If you're really good at patching, you can finish everything off in two coats. I fully expected to need a third coat. After the second coat dried, I used 100 grit sandpaper to feather the edges. The goal is to create a seamless transition so you'll never know the wall was damaged.

Step 7: Final Coat
When you apply the final coat, try to make it as smooth as possible. It'll save you from having do a lot of sanding.

Step 8: Sand Smooth
Feather all the edges by sanding them smooth, and give the rest of the patch a once-over to eliminate any dimples or ridges. Feel everything with your hand to make sure it's all even.

Step 9: Prime
It's really important to prime your drywall repair because compound will absorb paint differently, and even if you did a good patch job, without primer it'll be obvious.

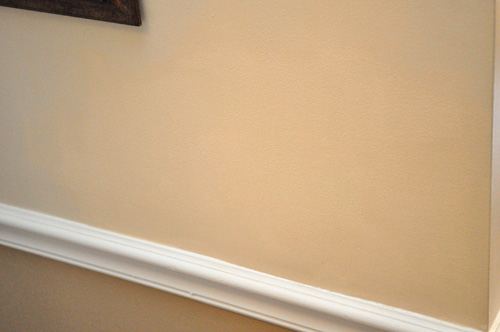
Step 10: Paint
We keep a little leftover paint for each room for just this purpose. I like to roll the paint because I can notice brush strokes, and again that's a giveaway that you patched the drywall. Rolling the paint gives it the same texture as the rest of the wall.
If you enjoyed this project, why don't you check out the other home improvement how-tos available in the Project Guides section.
How To Fix A Quarter Size Hole In Drywall
Source: https://www.oneprojectcloser.com/how-to-repair-medium-size-hole-in-drywall/
Posted by: carterponseety.blogspot.com
0 Response to "How To Fix A Quarter Size Hole In Drywall"
Post a Comment